Back-office user manual

Introduction
The back-office is an application for administering a Carto4CH server.
Unlike My-Competences, which only allows you to manage a unique person's jobs, contributions, trainings and competences, the back office also allows you to administer :
- organisations
- user profiles
- projects
- vocabularies (qualities and occupations)
What we call the "back-office" interface comes from a project called Archipelago created and maintained by the Virtual Assembly and based on SemApps, containing an interface for editing concepts such as organisations, persons and, in our specific case, competences. It is an open-source, Libre, semantic and distributed project, based on W3C standards.
This documentation is intended both for administrators of future instances and for users wishing to register their competences, either in the test area that is the demonstrator, or in a specific production instance.
For users, the simplest interface is My-competences.
We wanted to create the possibility of several uses, and give the administrator of an instance the freedom to organise himself as he wishes according to the two interfaces.
Access to the application
The application URL is specified in this portal: Applications > Demonstrator
Prerequisites
To make it easier for you to read what follows, we are going to review certain concepts together (instances, authentication, repositories, etc.).
To do this, please read the User manual prerequisites section.
Types and statuses
General
For several resources (organisations, projects, etc.), it is necessary to know how to manage types and status.
For example: An organisation can be a company, an association, a school, etc.
It may also have "public" or "private" status.
To users
These types are added by your administrator. If you can't find the type you need, please contact your administrator.
For administrators
We have chosen to group together all the statuses of different resources and all the types of different resources.
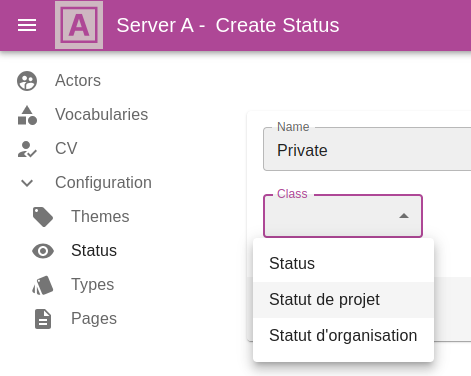
Manage statuses
To add a status, go to the menu > Config > Statuses, and click on the "create" button in the top right-hand corner.
It is important to choose the right class, linked to the resource for which you want to add a status.
This will add a new type to the list.

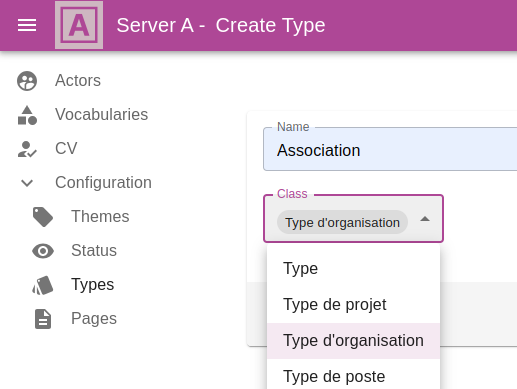
Manage types
To add a type, go to the menu > Config > Types, and click on the 'create' button at the top right.
It is important to choose the right class, linked to the resource for which you want to add a type.
This will add a new type to the list.

Resource filtering
Whether for organisations or for any other resource, as soon as they appear in the list, we can add a filtering mechanism on the right according to one of the properties of this resource.
For example, for the list of organisations, it is possible to filter either by type or by theme (we could also have added status...).
For example, by clicking on the "UMR (3)" type, the list is filtered to leave only UMRs.
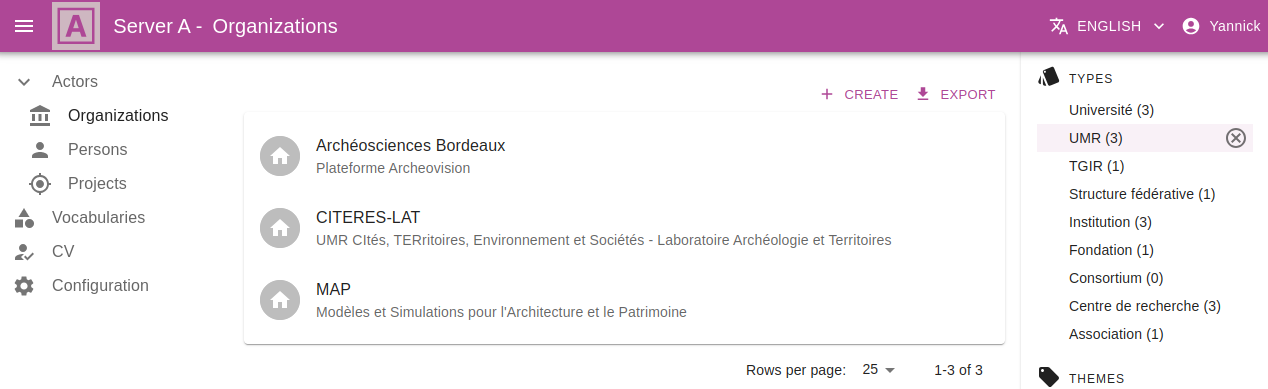
To delete the filter, click on the same type again. An icon with a cross in a circle appears to the right of the filter term. This lets the user know whether a filter is activated or not.
These filters are only activated on the user's browser interface (and not for all connected users).
Organizations
Description
The term "Organization" can be:
- an association (such as the Virtual Assembly),
- a public institution (higher education and research such as universities, or research only such as the CNRS),
- a ministry,
- an internal entity of a public institution (such as a MAP, LIFAT, MSH, CITERES, C2RMF research unit, or a team within a research unit such as CITERES-LAT),
- a department such as SNUM,
- a foundation such as FSP
- a company (such as SPARNA)
- a university, or
- a private school.
These will be added by the administrator of each instance, or by you if you need to (for example, a training organisation).
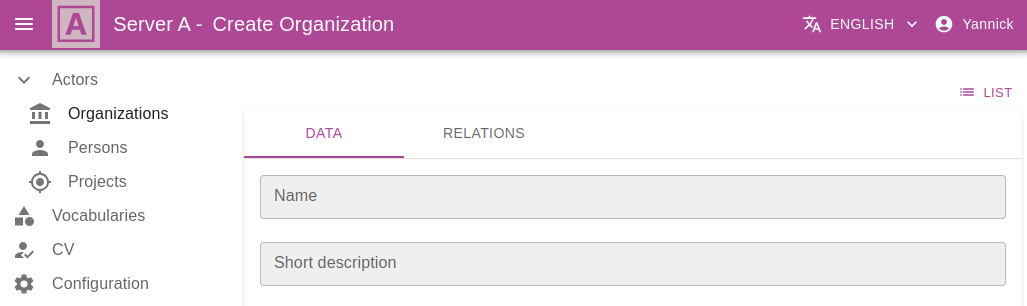
Creating an organisation
To add an organisation, click on the Create button on the right.
You can then fill in a form containing :
- a first tab with data about the organisation:
- the name of the organisation
- a short description,
- a description,
- a type,
- a second tab for relationships with other concepts
- jobs
- trainings
- themes

Display the organisation sheet

Editing an organisation
You can then switch back to "edit" mode or return to the list using the buttons at the top right.
Deleting an organisation
You can delete an organisation by using the edit mode and clicking on the "Delete" button at the bottom right.
Persons (people) / users
General
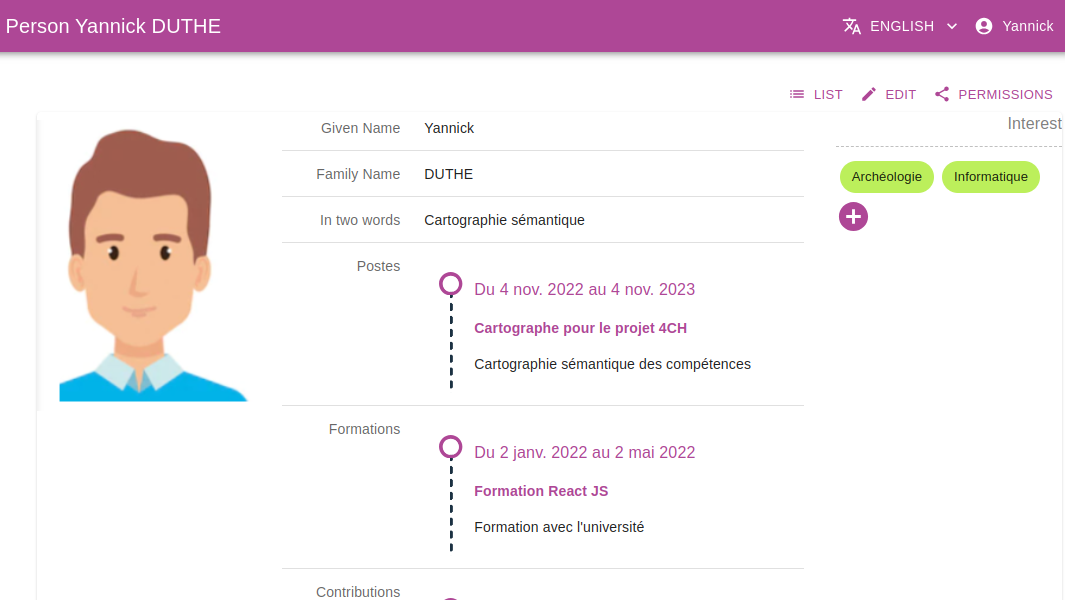
The people in this "trombinoscope" are users who have created a profile on the instance.

Clicking on each person gives you read-only access to their CV.

Each user can update their CV at any time by modifying their profile.
Editing the profile
The user created a profile when he authenticated on the application.
They can then come back at any time to update their profile. To do this, you can :
- click on the "Modify" button when your profile (CV) is displayed
- click on "Edit my profile" in the top right-hand menu

You can update your data here
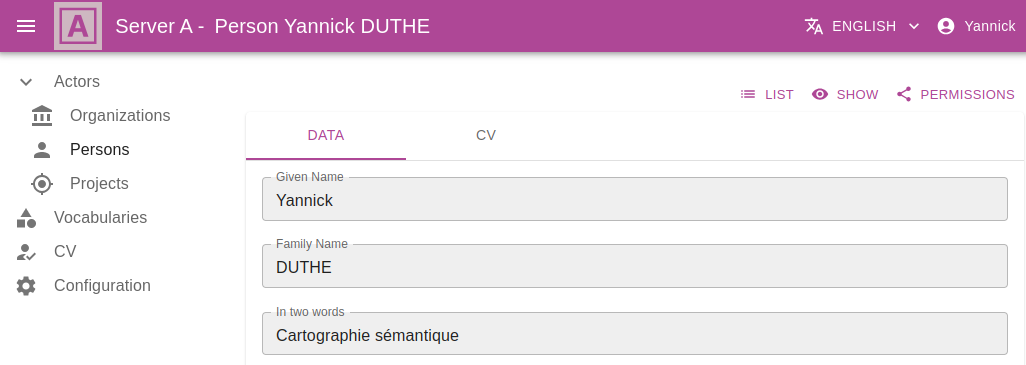
But also your relationships with jobs, commitments, trainings and competences.
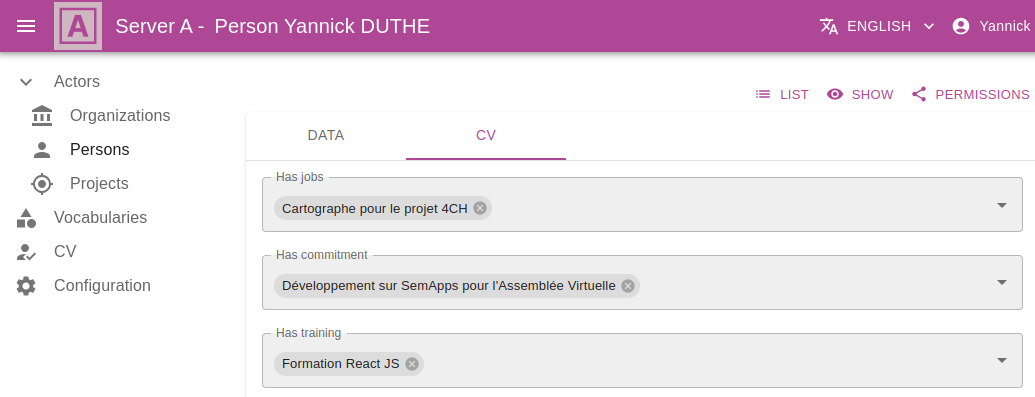
All these elements will make up your CV.
Deleting a profile
**Please inform your administrator before deleting your profile, as this may have consequences.
You can delete a profile by using edit mode and clicking on the "Delete" button in the bottom right-hand corner.
Projects
Description
You can add projects that will then potentially be used by contributions (see below).
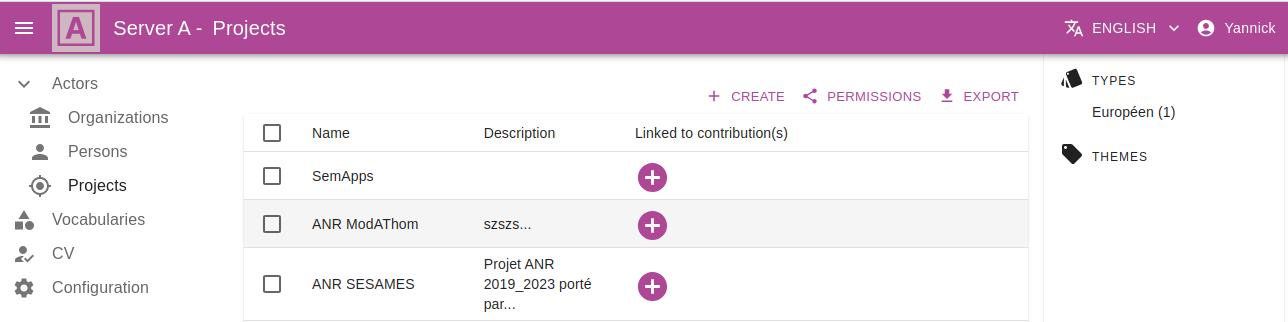
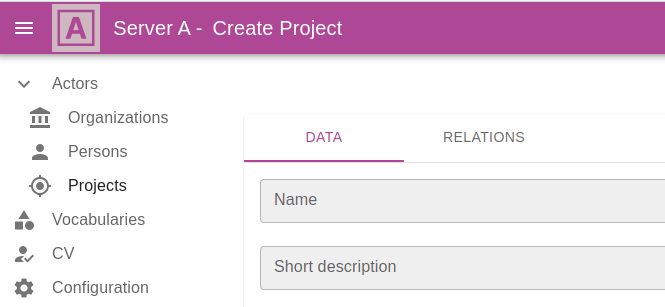
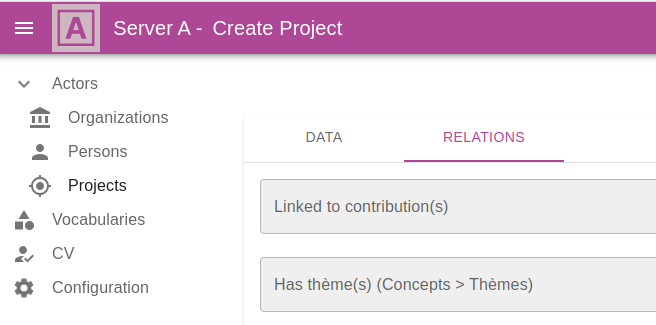
Creating a project
To add a project, click on the Create button on the right.
You can then fill in a form containing :
- a first tab with data about the organisation:
- the name of the organisation
- a short description,
- a description,
- a status,
- a type,
- a website
- a second tab of relationships with other concepts
- commitments linked to this project
- themes related to this project
Editing a project
You can then switch back to "edit" mode or return to the list using the buttons at the top right.
Deleting a project
You can delete a project by using edit mode and clicking on the "Delete" button at the bottom right.
Object creation order
- Qualities
- Occupations
- Rest...
It is important to understand how the resources are organised before creating your CV.
Jobs can use occupation, and detailed competences are dependent on qualities. It is therefore important to create the qualities first, then the occupations.
see: Understanding competences and qualities
The administrator of your instance will therefore first create the basic competences (to avoid empty lists), then the basic occupation, and finally, the users will add their jobs, trainings and commitments.
Creating qualities
Qualifications are used to specify the details of a competence. The administrator or user will be asked to create qualities.
Here is an example of how to create a "discipline ".
Click on the Create button to the right of the word "discipline".
You will be taken to a form explaining that if you enter a few letters, the field will query the Wikidata repository and provide you with a list that may help you.
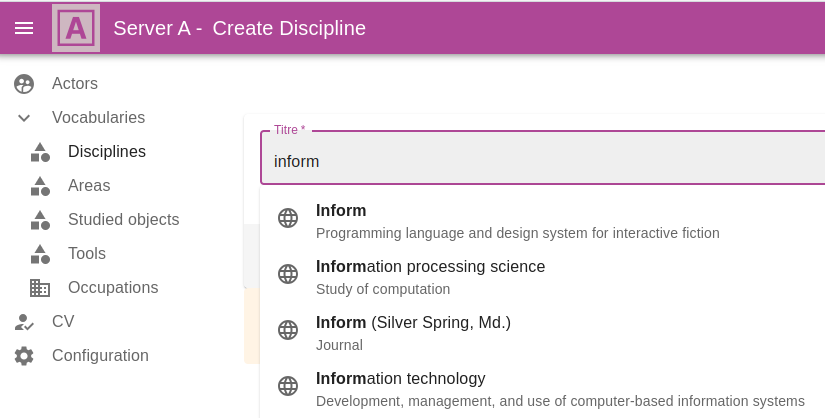
You have two choices:
- Either you find the term** you are looking for in the list, in which case select it.
- or you can't find it**, in which case you can add your own term. Once you have finished writing the letters of your term, click on the line beginning with a "+" as shown below:
If you click anywhere else, the field is cleared and you can start again.
Caution: The input help is not very responsive, so you may need to be patient. Especially if your network is slow.
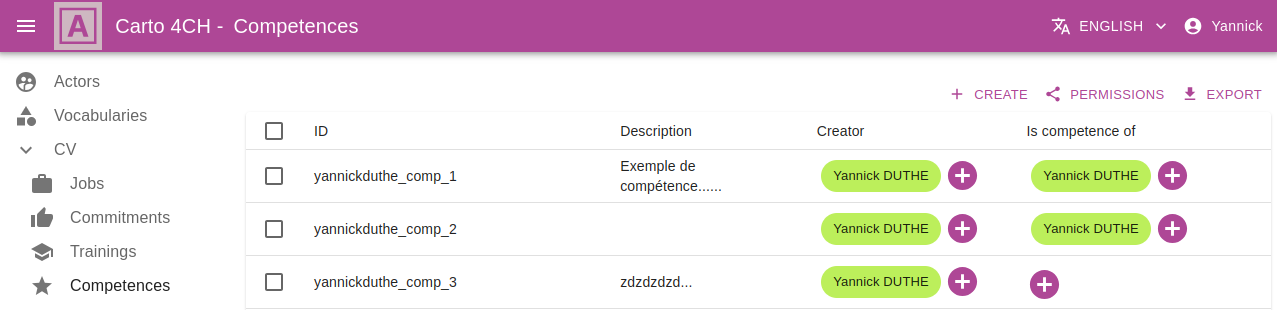
Once created, they appear in the list :

It will be the same for areas, studied objects and tools.
Occupations
Presentation
The first professions will be created by the administrator, and little by little the list will be completed by users.
If there are any duplications or errors, please inform your administrator.
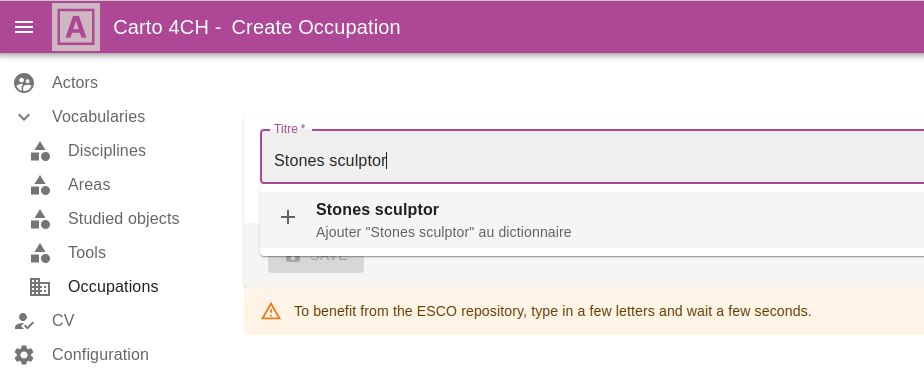
To create an occupation, which can then be linked to a job, we can be helped by the occupations in the ESCO European reference framework.
Occupation creation
To add a profession, click on the Create button to the right of the word 'Professions'.

If you can't find your profession in the list, you can add your own.

Jobs
Presentation
You will be able to add work experience (=jobs) that you have held in your career.
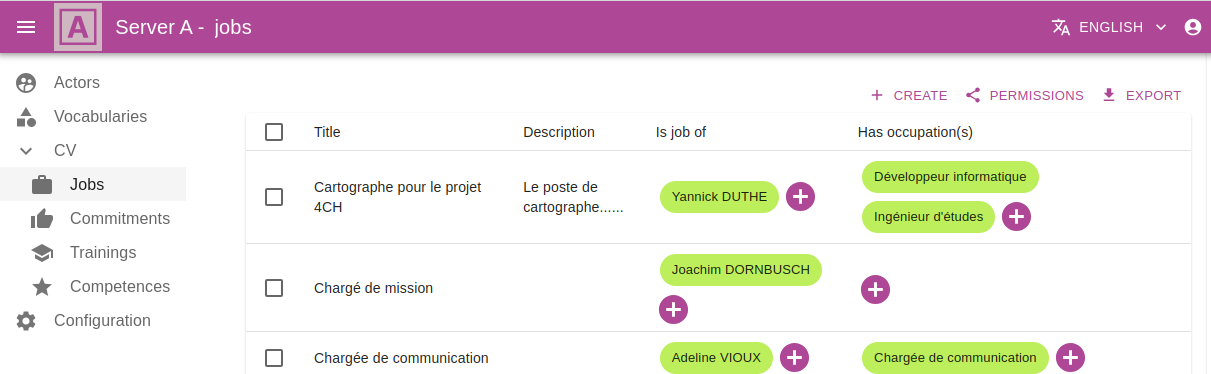
Creating a workstation
To create a job, click on the "Create" button to the right of the word "jobs". You will be able to fill in a form containing :
- a first tab with data about the position :
- a title
- a short description
- a type of contract (permanent, fixed-term, etc.)
- a description
- a start date
- an end date

- a second tab containing relationships with other resources:
- the organizations for which you worked during this post
- the occupations for which you were employed
- the competences you developed during this job
- the themes relating to this position

Editing a position
You can then go back to "edit" mode or return to the list using the buttons at the top right.
Deleting a position
You can delete a position by using the edit mode and clicking on the "Delete" button in the bottom right-hand corner.
Commitments
Presentation
You will be able to add the participations/contributions/commitments that we have made to your route.

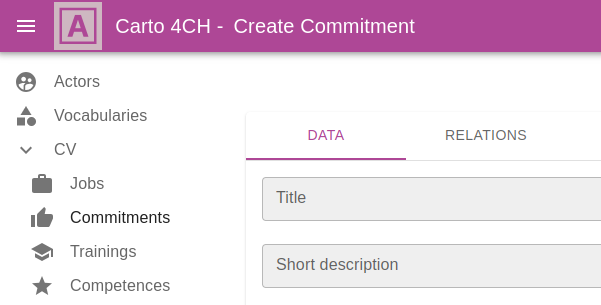
Creating a commitment
To create a commitment, click on the "Create" button to the right of the word "Commitments". You will be able to fill in a form containing :
- a first tab with data about the position :
- a title
- a short description
- a description
- a start date
- an end date
- a second tab containing relationships with other resources:
- projects for which you acted via this commitment
- competences developed during this commitment
- themes relating to this commitment

Editing a commitment
You can then switch back to "edit" mode or return to the list using the buttons at the top right.
Deleting a commitment
You can delete a contribution by using the edit mode and clicking on the "Delete" button at the bottom right.
Trainings
Presentation
Adding a training is just as easy as adding jobs.

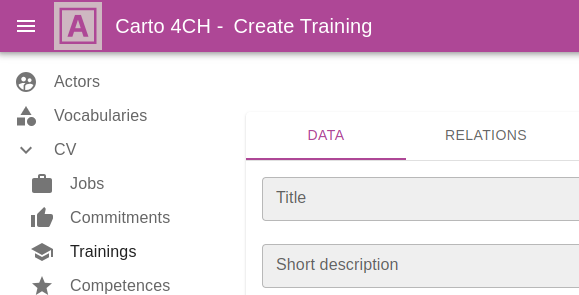
Creation
To create a training, click on the "Create" button to the right of the word "Trainings".
You will be able to fill in a form containing :
- a first tab with data about the training :
- a title
- a short description
- a description
- a start date
- an end date
- a second tab containing relationships with other resources:
- organizations with which you did the training
- competences developed during the training
- themes relating to this training

Editing a training
You can then switch back to "edit" mode or return to the list using the buttons at the top right.
Deleting a training
You can delete a training by using the edit mode and clicking on the "Delete" button at the bottom right.
Competences
Presentation
You can add competences. A "competence" is structured as a set of qualities. Each competence can be optionally linked to jobs, commitments and trainings.
These competences may have been acquired in a particular context (jobs, trainings or commitments).
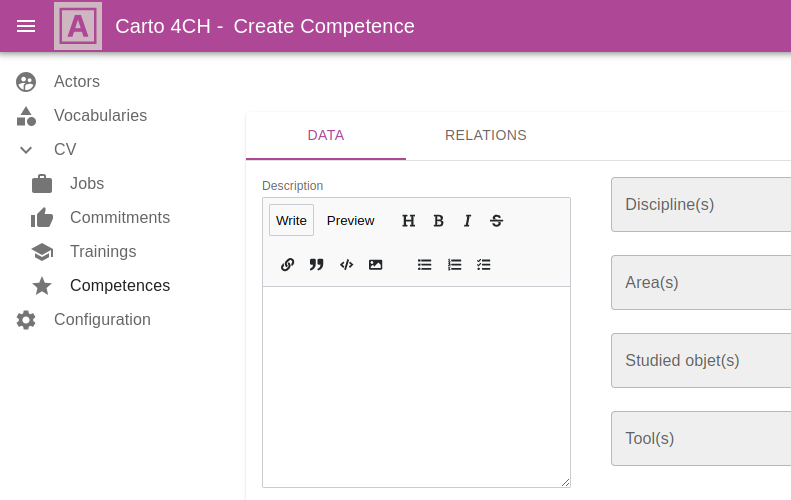
Creating a competence
To create a competence, click on the "Create" button to the right of the word "Competences".
Caution The title will be generated automatically from your identifier and an increment. :::
You will be able to fill in a form containing :
- a first tab with data about the competence :
- a description of the context of the competence
- disciplines related to the context
- sectors related to the context
- studied objects related to the context
- tools related to the context
For more information on qualities, see competences and qualities prerequisites
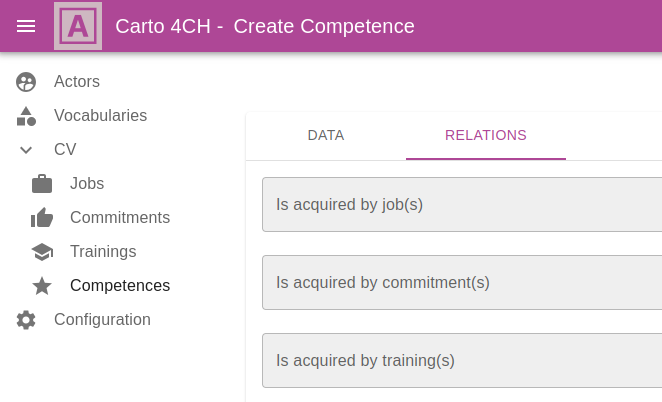
- a second tab containing relationships with other resources:
- jobs that have generated this competence
- commitments that have generated this competence
- trainings that has generated this competence
For more information on the qualities chosen, please refer to the HeCo ontology document.
Editing a competence
You can then switch back to "edit" mode or return to the list using the buttons at the top right.
Deleting a competence
You can delete a competence by using the edit mode and clicking on the "Delete" button at the bottom right.
Associating created objects with the profile
The special feature of the back office is that the link between your profile and everything you've added has to be added manually. This link is automatic in My-competences. We don't want to automate anything in the back office, because it's reserved more for administrators.
To do this, go to your user profile, in the "CV" tab:

Viewing your "Heritage CV"
Once all the associations have been made, you can view your CV in your profile. This CV will then be public.
Conclusion
Thank you for following this manual. I hope that everything went well and that you are satisfied with this back-office.
The data collected is now structured in the database in accordance with the HeCo ontology. It will therefore be easier to query using the mapping and visualisation tools.
If you have any comments, suggestions or ideas, please contact us